Illustration
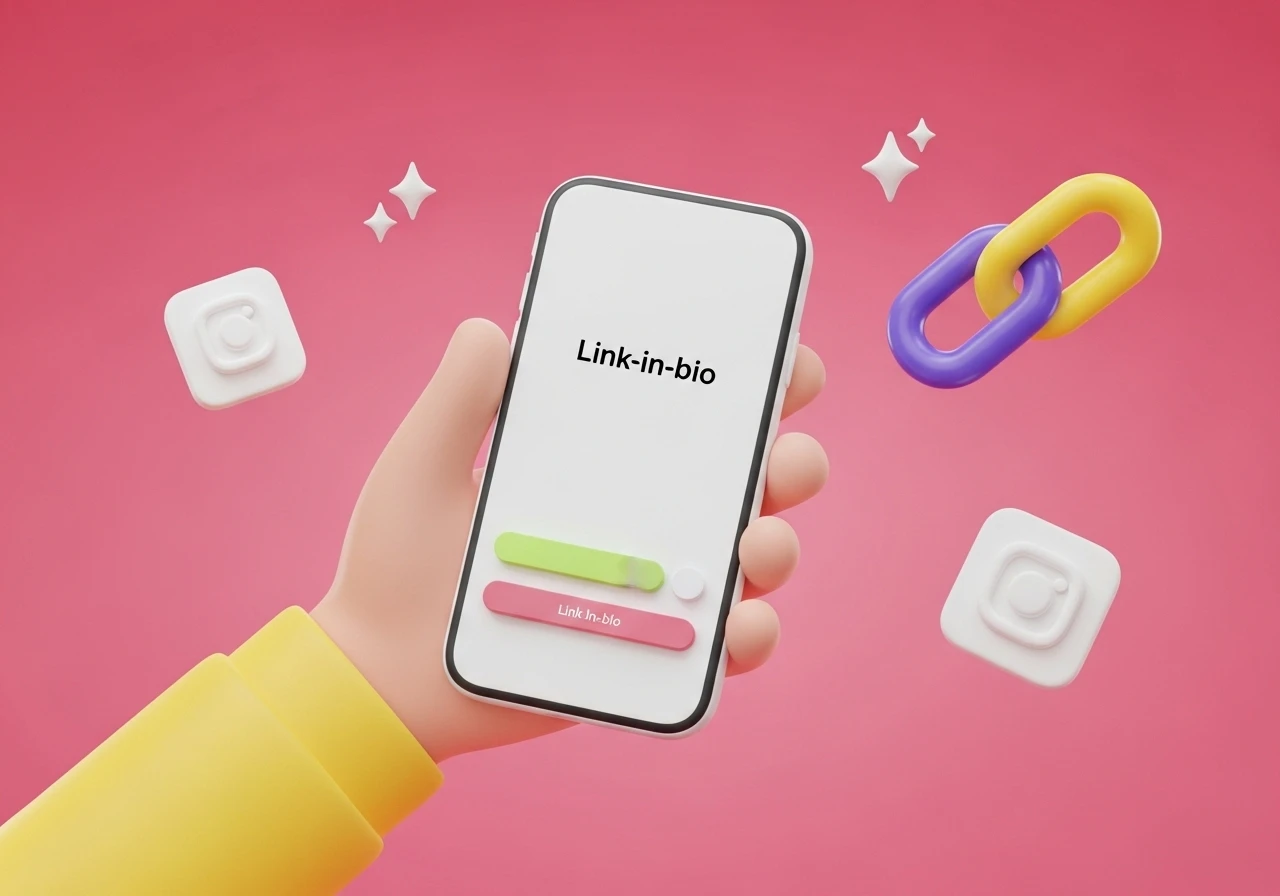
Creative Icon Ideas to Make Your Link-in-Bio Stand Out
Read More
/18 May 2026
Do you want to use beautiful 3D moving pictures on your website without slowing it down? Normal videos and GIF files are heavy and make websites load slowly. Luckily, a tool called Lottie changes everything. This guide will help you understand how to share your 3D designs with the world using small, fast files.
By following a simple workflow, you can change your heavy 3D art into a fast web asset. Let us look at this step-by-step guide to converting 3D illustrations into Lottie animations so you can improve your web projects today.
A Lottie animation is a text-based animation file. It uses the JSON code format instead of a standard video format. Think of it as a list of mathematical rules that tell your computer screen exactly how to draw shapes and move them.
Because it uses code instead of thousands of heavy picture frames, the file size stays very small. You can stretch a Lottie file to fit a huge TV screen or a tiny phone screen, and it will always look perfectly sharp.
Using 3D art on the web used to be very difficult. Today, converting your artwork offers several major benefits:
Super Small Files: Lottie files are often ten to fifty times smaller than high-quality GIFs or MP4 videos.
Perfect Quality: Your art will never look blurry or pixelated when users zoom in on a screen.
Fast Loading Times: Mobile phones can load and play these animations instantly without draining the battery.
Easy Code Handoff: You only need to give one small file to your web developer to launch it.
Moving an object from a 3D workspace into a web-ready file requires a few specific steps. Here is how you can do it using standard tools like Blender and Adobe After Effects.
First, you need to open your 3D illustration inside your 3D software.
Open your 3D project file and head over to the animation workspace.
Select the parts of your 3D model that you want to move.
Set your animation speed to 24 frames per second (fps) to keep the movement smooth.
Add your starting keyframes, move the timeline slider, change the position or rotation of your object, and save your ending keyframes.
Make sure the animation loops smoothly so the first frame matches the last frame.
Lottie files are built for flat 2D shapes, meaning they cannot read complex 3D math directly. To fix this, you must turn your 3D movement into a flat sequence of images.
Go to your render settings panel in Blender.
Look for the Film settings and check the box for Transparent Background so your model does not have a solid block of color behind it.
Set your output format to PNG or WebP image files.
Choose an empty folder on your computer to save the files.
Click Render Animation and wait for the software to save every frame as an individual picture.
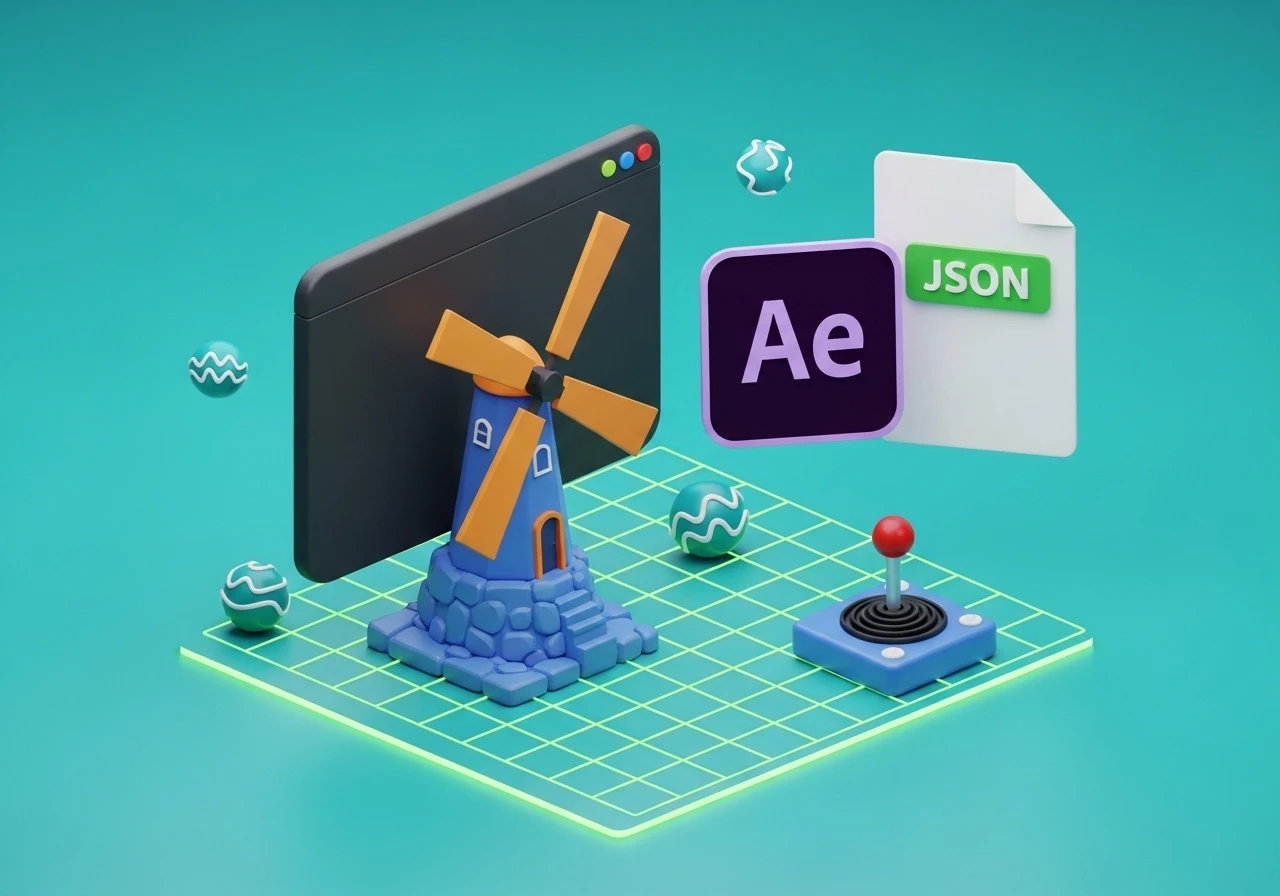
Now, you will use Adobe After Effects to compile those individual frames back into a moving scene.
Launch Adobe After Effects and start a new project.
Click File, then select Import, and choose File.
Open your folder of rendered pictures, click the very first image, and make sure to check the box that says PNG Sequence.
Drag your imported image sequence asset down into your timeline panel.
To get a real Lottie file, you need a special translator tool inside After Effects.
Open the Window menu at the top of your screen, go to Extensions, and open Bodymovin or the LottieFiles plugin.
Select your main animation timeline inside the plugin window.
Open the settings menu within the plugin and check the option for Include assets in JSON. This is a very important step because it embeds your images right inside the text file.
Choose the specific folder where you want to save your final asset.
Click the green Render button. The plugin will convert your images into code in just a few seconds.
Your new file is ready, but you should always double-check your work before publishing it.
Go to the official LottieFiles website.
Drag and drop your new JSON file directly into their online preview tool.
Watch the animation closely to make sure it loops correctly and looks clean.
Copy the file or send the link straight to your web developer so they can drop it into the website code.
Keep Animations Short: Aim for a duration of two to five seconds to keep your final file size low.
Lower Your Sample Count: When rendering your images in Blender, use a lower sampling number to speed up your render time.
Do Not Use Post-Processing Effects: Avoid adding complex lens blurs, heavy fog, or realistic lighting blooms in your 3D software, as these features do not convert well into web text.
Converting your 3D illustrations into Lottie animations is the best way to add deep, moving art to a modern website. By rendering your 3D scenes into a flat sequence of images and using a plugin to change them into code, you protect your website layout from slow loading speeds. Try these simple steps with your own 3D models to see how easy it is to upgrade your user experience.